

Whether you’re a hunter, fisherman or hiker, all types of outdoor enthusiasts stand to benefit from an organized gear room. You can store all your equipment in one secure place instead of shoving it in your bedroom closet or scattering it around the house.
Here’s everything you need to know about building and organizing a DIY gear room that will keep your items safe and secure.
Determine Where to Build Your Gear Room
Add your gear room to an existing storage area to make this project as simple as possible. Sheds and garages are the two best places to store your equipment. They’re not great for fuel and food, but they’re perfect for your firearms, ammunition, first-aid supplies and miscellaneous outdoor tools.
Walk-in closets and basements are also viable options, but they’re not in the most convenient locations. Your gear room should ideally be on the ground floor so you don’t have to carry everything up or down a flight of stairs.
Choose a quiet and secure location on your property if you need to build a gear room from scratch. All your equipment will be in the same place, and you want to avoid drawing attention to it. The location should also be flat so you don’t have to grade the soil before building. A fenced-in backyard checks all the boxes.
Consolidate Your Gear
Once you decide where to build, you must consolidate all your gear and eliminate unnecessary items. You can’t start building until you know how much space you need. There are probably lots of things you’ve forgotten about over the years. Here are some decluttering guidelines to help you sort through your belongings:
- Get rid of anything you haven’t used in the last year.
- Try on all clothing articles to ensure they fit. Sell or donate anything that doesn’t.
- Ditch the sentimental items. They don’t belong in your gear room if they don’t serve a functional purpose anymore.
- Follow the rule of twos. Having spare items is a good idea, but three or four replacements is overkill.
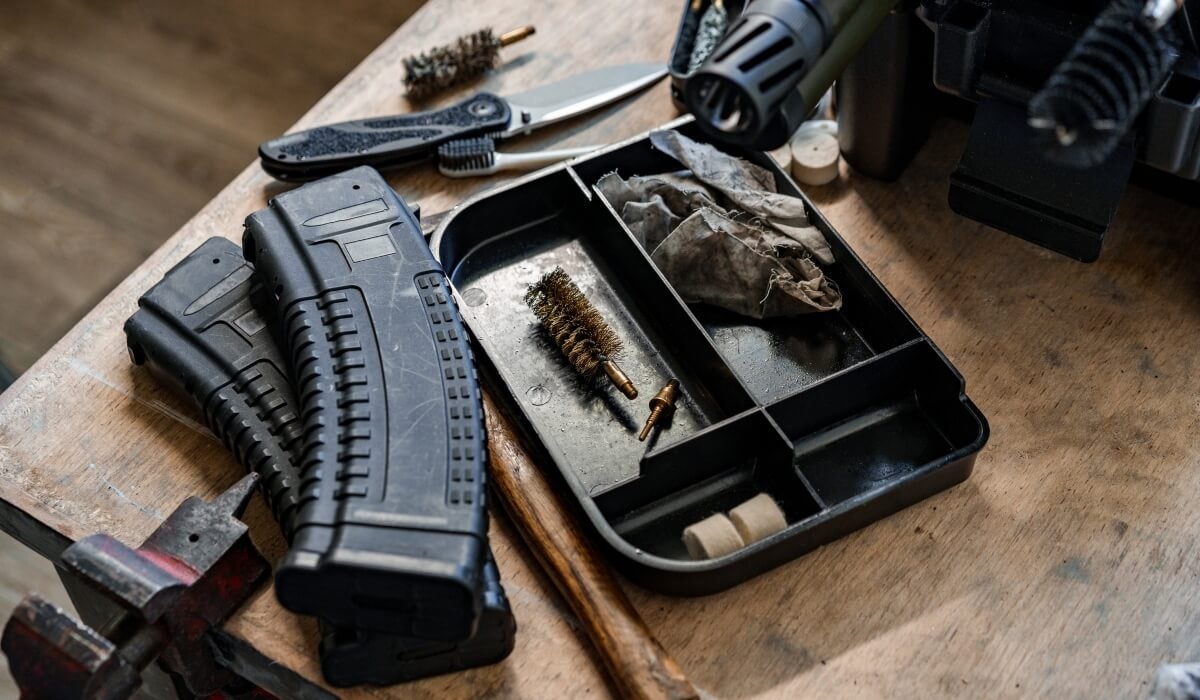
Separate your gear into piles. You should have a distinct pile for firearms, ammunition, clothes, first-aid supplies and other equipment categories. This step is important because some items need special containers. For example, bullets require airtight ammo cans so they don’t rust while in storage. Separating everything now will make organizing your gear room much easier when you’re finished building.
Gather Essential Tools and Materials
Once you’ve consolidated your gear, you can accurately estimate your room’s size. About 20 feet of shelving should be more than enough to get the job done. However, remember that your local building laws might put some restrictions on your project. There are likely height regulations and building area ratios you need to follow.
In any case, you will need these tools and materials to build your main shelving units:
- Tape measure
- Pencil or sharpie
- Level
- Chalk line
- 1 ⅝-inch screws
- Impact driver
- Skill saw
- 1×2 and 2×4 wooden boards
- 2×4 oriented strand boards (OSB)
- Pegboard
Pegboards are one of the best materials for DIY shelving. They will give you tons of storage options later on. Of course, the number of boards you need depends on how much shelving you plan to build. You have to make this estimate on your own. Remember to buy a few extra boards in case you make a mistake.
Build the Shelves
Now it’s time to start building your shelves. If you’re attaching them to drywall, you have the advantage of being able to draw lines and measurements on the wall. Follow these simple steps and you’ll complete the shelves in no time:
- Cut the 1x2s and 2x4s to your desired lengths.
- Put the 1×2 against the wall and ensure it’s level. Screw it to each stud in the wall.
- Screw a 2×4 to an OSB. Make sure you do this on a hard, stable surface.
- Secure the OSB to the top of the 1×2.
- Screw the pegboard into the wall. A screw every 12 inches is good enough.
Repeat these steps as needed for the other shelves. Once everything is screwed in, perform a weight test and try to hang a 40- to 50-pound object from the pegboard. If the shelf passes this test, you can start storing your gear. You can also paint or stain the wood to improve the shelf’s appearance.
Consider Versatile Storage Solutions
Pegboards allow you to incorporate versatile storage solutions, including hooks, baskets, coat hangers and zip ties. You’ll be able to hang your delicate equipment off the ground, which is a huge advantage when it comes to home storage. You don’t have to worry about excessive dust accumulation and water damage.
However, you shouldn’t hang everything. You might only use things a couple of times a year, so leaving everything out in the open doesn’t make much sense. These rarely used items should go in clear tote containers to free up more space for the more frequently used equipment.
Wire shelving is another easy storage addition to your gear room. You can adjust the height and width to fit your needs, allowing you to hang up even more equipment. You can put your guns, fishing poles, climbing harnesses, skis, snowboards and many other types of outdoor gear on full display.
Add the Final Touches
Now that you’ve covered all the essentials, you can add the final artistic touches. Decorate your gear room with hunting memorabilia, pictures from your outdoor adventures, flags, and other items that reflect your style and experience.
This will make the area truly your own and show off your unique style. Your gear room will start to develop its own ambiance, and in time, you might decide to expand it.
Enjoy Your New Gear Room
Your gear room doesn’t have to be an extravagant storage space. It just needs to be dry, spacious and secure. Follow these steps to ensure you check all the boxes and keep your expensive outdoor equipment safe so you can use it for years to come.
The post AllOutdoor: How to Build and Organize a Gear Room appeared first on AllOutdoor.com.